Portable Solar Generator Setup Checklist for Beginners
It is not necessary to feel overwhelmed while setting up a portable solar generator. Whether you’re planning a camping trip, a power outage, or simply want a quiet, clean power source, understanding what to anticipate will help you avoid mistakes. This tutorial leads you through the necessary equipment and setup processes, allowing you to get started confidently. Anyone can create a functional system with a few pieces of equipment and a rudimentary grasp of how they connect. It’s all about buying the appropriate parts, installing them securely, and testing them before relying on them when it counts the most.
What Do You Need to Set Up a Portable Solar Generator?
Must-Have Components for a Complete System
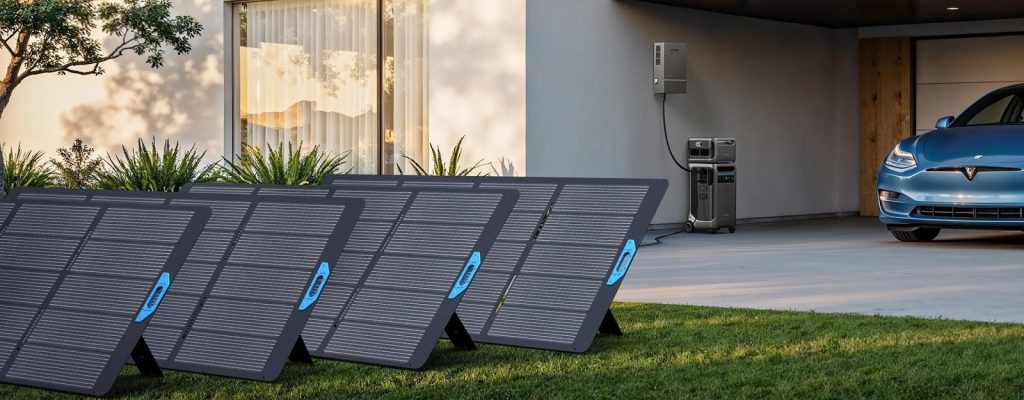
Every practical portable solar generator system has three main components: solar panels to gather sunlight, a battery to store energy, and an inverter to transform that energy into usable AC power. Most portable solar generators integrate the battery and inverter into a single device, simplifying operations. Check that your solar panel is compliant with your generator’s voltage and power specifications. You’ll also need connectors or adapters that fit the ports on both devices. Without these components, your system will not function. Before attaching anything, double-check the product handbook or manufacturer guidelines to verify appropriate fit and performance.
Optional Accessories That Make Life Easier
If your generator doesn’t already have one, think about installing a solar charge controller to help your system work better and be easier to operate. You may put solar panels in better sunlight without relocating the power plant if you use extension cords. Some people like to install a foldable panel stand to get better tilt and sun exposure. You may keep your gear safe from rain and dust by using waterproof cases or covers. Some companies include applications or external screens that let you watch in real time. These accessories aren’t required, but they can make your gear easier to use, safer, and last longer, especially if you use it often or in different conditions.
Safety Tools and Basic Setup Gear
Always put safety first. When working with cables or panels with sharp edges, use gloves. Before plugging anything in, use a multimeter to check the voltage and polarity. Put a surge protector or circuit breaker between your generator and any devices that are sensitive. Use weatherproof coverings and keep connections dry if you are charging or using equipment near water or outside. Using zip ties and Velcro straps to keep cables in order can help save people from tripping. If you’re utilizing equipment that needs more power, make sure you have a fire extinguisher close by. These easy tools and habits can help you avoid shorts, shocks, or damage to your system when you set up and use your generator.
How to Set Up a Portable Solar Generator Step by Step?
Choose the Right Location and Unpack the Kit
Begin by positioning your generator and solar panel in a dry, level area with sufficient ventilation. Choose a position that receives full sun for at least 4-6 hours. Avoid shady places and uneven terrain, since they might cause your equipment to tip. Unbox your generator, connections, and solar panel with care. Read the manuals to ensure that all parts are included and to examine safety precautions. If you’re using the best solar generator, many components may come pre-configured, making setup even easier. Keep the box and packaging in case you need to store or return any item. Don’t connect anything yet—just lay out your parts and inspect for visible damage or dust. This first step helps prevent rushed setups and accidental damage later.
Connect Solar Panels, Battery, and Inverter
Next, connect your solar panel to the generator’s assigned input connector. If your system has distinct components, connect the solar panel to the charge controller, then the battery, and lastly the inverter. Double-check each connection’s polarity—positive to positive, negative to negative. Use adapters or extension cords as needed, but don’t overload the inputs. Make sure that all wires are tight and secure. Lay cables flat to avoid tangling or tripping. Once everything is connected, position the solar panel in direct sunlight and monitor your generator’s charge indication. This validates that your system is operational and generates electricity adequately.
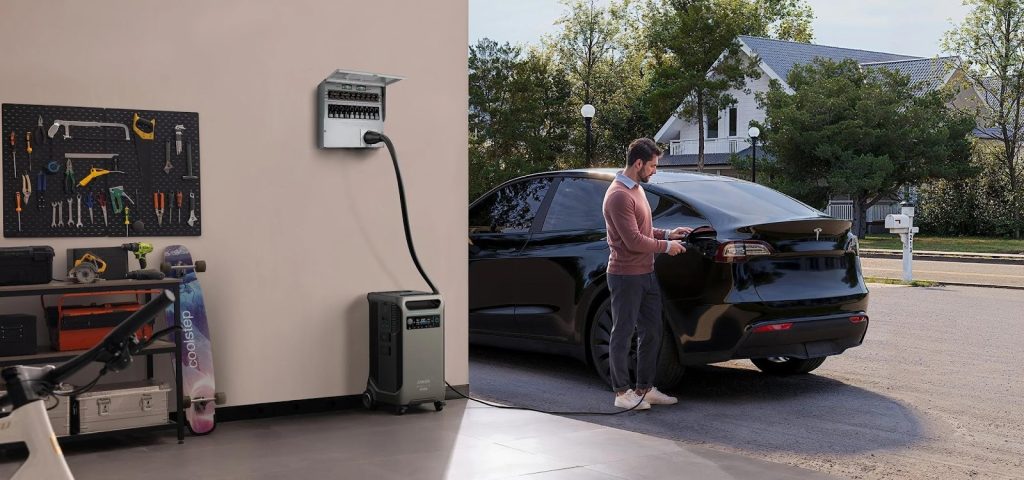
Power On and Run a First Test Safely
After your generator has absorbed sunlight and stored energy, turn it on. Plug in a small item first, such as a phone charger or LED light, to ensure that the inverter is correctly converting electricity. Listen for unusual sounds or look for warning lights. If everything seems and sounds okay, consider using a slightly bigger appliance, such as a fan or laptop. Keep track of the battery level as it powers the gadget. Check the input and output statistics on any screens or apps on your system. This initial test allows you to ensure that your setup is reliable and ready before relying on it during an outage or travel.
Conclusion
A portable solar generator is one of the most convenient and safest methods to stay powered during crises, camping excursions, or daily off-grid work. With the correct components and careful installation, you’ll have a dependable system that’s ready when the power goes out. Start small, test extensively, and gain trust in your gear. Taking the time to prepare now will result in less stress when you need backup power later. Follow the checklist, remain safe, and enjoy the freedom that portable solar power provides for your house, car, or campsite—or anywhere you need clean, silent electricity at your fingertips.